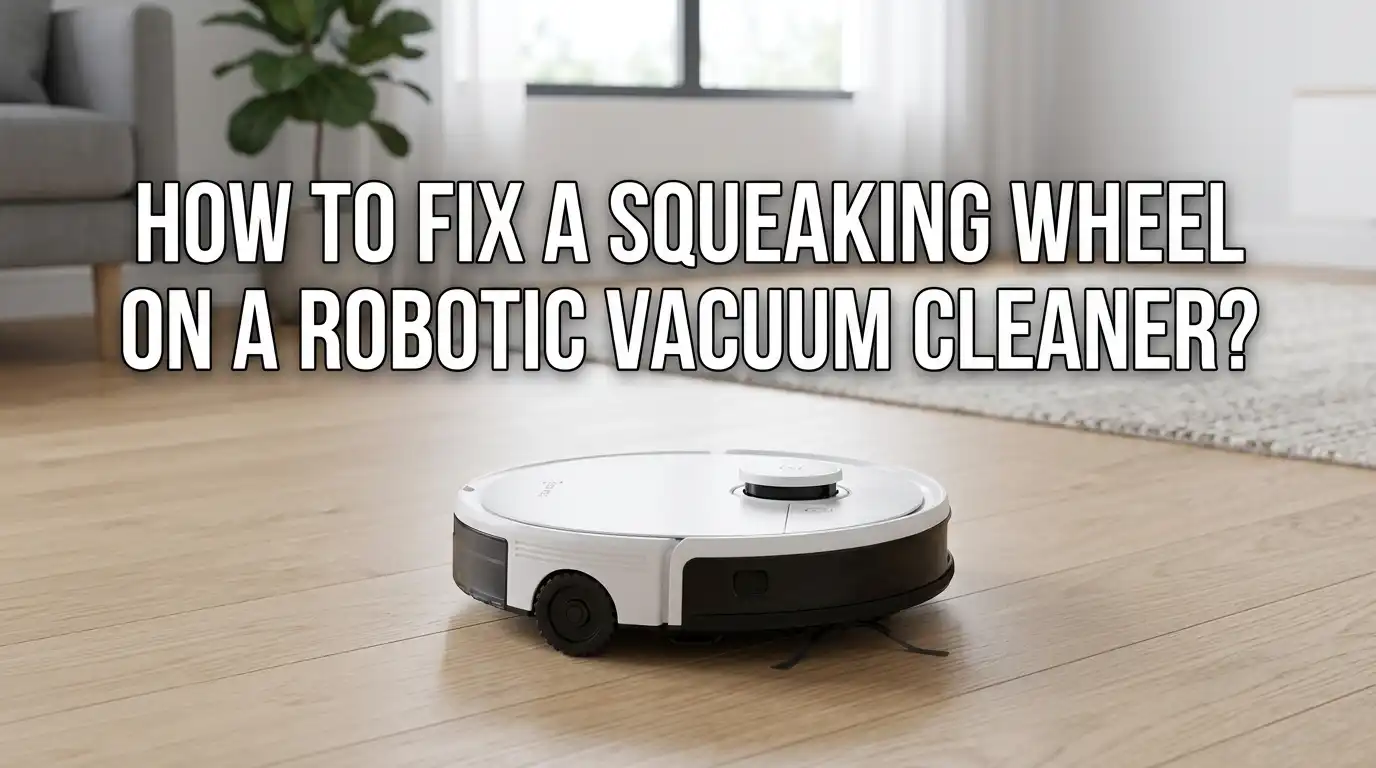
How to Fix a Squeaking Wheel on a Robotic Vacuum Cleaner?
Your robot vacuum used to glide across the floor in silence. Now it sounds like a rusty shopping cart rolling through your living room. That high pitched squeak follows it from room to room, and it gets louder every day. You are not alone in this frustration.
A squeaking wheel is one of the most common issues that robot vacuum owners face. The good news is that you can fix it at home in most cases.
This guide walks you through every fix, from the quick five minute clean to a full wheel module swap. By the end, your robot will roll quietly again. Let us get started.
Key Takeaways
- Hair and debris are the top cause. Pet hair, dust, and string wrap around the wheel axles. This creates friction and that classic squeak. A simple cleaning fixes the issue in about 70 percent of cases.
- The front caster wheel squeaks more often than the side drive wheels. It spins freely in all directions, so it catches more hair. Always check this wheel first before opening anything else.
- A tiny drop of silicone lubricant works wonders. Avoid heavy oils like WD40 on plastic parts because they attract more dust over time. Silicone spray or dry lube lasts longer and stays cleaner.
- Worn bearings or motor issues need part replacement. If cleaning and lube do not work, the wheel module may be at the end of its life. Most major brands sell replacement modules that you can swap in under ten minutes.
- Regular maintenance prevents future squeaks. Clean the wheels every two to four weeks. This habit extends the life of your robot by years and keeps it running quietly.
Why Robot Vacuum Wheels Start Squeaking
Robot vacuum wheels squeak for a few clear reasons. The most common cause is debris buildup around the axle. Hair, fibers, and dust wrap tightly around the wheel shaft. This creates friction that makes the wheel screech as it turns.
The second cause is dried out lubrication. Factories apply a thin layer of grease to the wheel bearings. Over months of use, this grease wears off. The bare plastic and metal parts grind against each other.
A third reason is worn internal gears or bearings. After hundreds of hours of cleaning, the small parts inside the wheel motor start to wear down. This kind of squeak often comes with a slight wobble or a stuck wheel error. Finally, moisture from mop attachments can cause rust on metal pins, which also makes the wheel squeak.
How to Identify Which Wheel Is Squeaking
Before you fix the problem, you need to know which wheel is making the noise. Most robot vacuums have three wheels. There are two large drive wheels on the sides and one small caster wheel at the front.
Place your robot on a hard floor and let it run. Get down low and listen carefully. Move your ear close to each wheel for a few seconds. The squeak will be loudest near the source.
You can also flip the robot over and spin each wheel by hand. A healthy wheel turns smoothly and silently. A bad wheel will resist, click, or squeak even with a gentle push. Mark the bad wheel with a small piece of tape so you remember which one to fix. This step saves a lot of guesswork later.
Step One: Clean the Front Caster Wheel
The front caster wheel is the first place to check. It spins freely and picks up hair fast. Start by firmly pulling the wheel straight up and out of the socket. Most caster wheels pop out with a gentle tug.
Once the wheel is out, look at the wheel well. You will likely see a tangled ball of hair and dust around the post. Pull this debris out with your fingers or tweezers. Wipe the well clean with a dry cloth.
Next, push the small pin out of the wheel itself. The wheel will split into two pieces. Clean each part with a damp cloth and let them dry. Reassemble the wheel and snap it back into place. Test the robot.
Pros: This fix is free, fast, and solves most squeaks.
Cons: You may need to repeat the process every few weeks if you have pets.
Step Two: Clean the Side Drive Wheels
If the front wheel is fine, move on to the side drive wheels. These wheels do not pop out as easily as the caster. Flip the robot upside down on a soft towel to protect the top shell.
Spin each wheel by hand and look for hair wrapped around the axle. Use scissors or a seam ripper to cut through tight strands. Pull the hair out with tweezers. A small flathead screwdriver helps you reach inside the wheel housing.
Wipe the rubber tread with a damp cloth to remove sticky residue. Clean tread gives the robot better grip and reduces strain on the motor. Let everything dry before flipping the robot back over. Run a short cleaning cycle and listen for the squeak.
Pros: Removes the second most common cause of noise.
Cons: Side wheels are harder to fully disassemble without tools.
Step Three: Apply the Right Lubricant
If cleaning alone does not silence the squeak, lubricant is your next step. Silicone based lubricant is the safest choice for robot vacuums. It does not attract dust, and it will not damage plastic parts.
Apply a tiny drop to the axle or pin of the wheel. One drop is enough. More lubricant will drip onto the floor and attract dirt. Spin the wheel a few times to spread the lube evenly.
Avoid oil based sprays like WD40 on plastic gears. These products break down plastic over time and leave a sticky film. Dry graphite lubricant is another good option, especially for the front caster pin. Lithium grease works well for internal gears if you open the wheel module.
Pros: Lubricant gives a quick, lasting fix when cleaning is not enough.
Cons: Using the wrong type can cause more damage than the original squeak.
Step Four: Check for Hair Tangled Inside the Wheel Module
Sometimes hair sneaks past the outer wheel and wraps around the internal motor shaft. This kind of tangle causes a deeper, grinding squeak. You will need a small Phillips screwdriver to open the wheel module.
Remove the screws on the bottom plate near the wheel. Lift the cover gently and look inside. You may see hair wrapped tightly around a small gear or shaft. Use tweezers and scissors to remove it carefully.
Take a photo before you take anything apart. This trick helps you put the pieces back in the right order. Do not force any clips or springs. Once the inside is clean, close the cover and tighten the screws. Test the robot to confirm the squeak is gone.
Pros: Solves stubborn squeaks that surface cleaning cannot reach.
Cons: Opening the module may void your warranty on some models.
Step Five: Inspect the Wheel Suspension Spring
The drive wheels sit on a spring loaded arm. This arm lets the wheels move up and down over uneven floors. A dry or stuck spring can cause a creaking or squeaking sound.
Push each wheel up into the housing with your hand. It should bounce back down smoothly. If the wheel sticks, feels rough, or makes noise during this test, the suspension is the source.
Apply a small amount of silicone lube to the spring pivot points. Work the wheel up and down a dozen times to spread the lube. Wipe away any extra liquid. This step often fixes vacuums that squeak only when they cross thresholds or rugs.
Pros: Targets a hidden cause that many owners overlook.
Cons: Requires more patience and a steady hand to apply lube in tight spots.
Step Six: Test for Motor Bearing Wear
If the wheel still squeaks after cleaning and lubing, the internal motor bearings may be worn. This is common on robot vacuums older than two years. The bearings inside the wheel motor wear down with heavy use.
To test, remove the wheel module and spin the motor shaft by hand. A worn bearing feels gritty, loose, or makes a scratchy sound. A good bearing spins smoothly with no resistance.
You can sometimes extend the life of a worn bearing with a drop of lithium grease. This fix is temporary and usually lasts a few weeks. A full replacement is the better long term solution. If the bearings are noisy and the wheel wobbles, plan to swap the whole module.
Pros: Diagnoses a problem that cleaning cannot solve.
Cons: Worn bearings always come back, so this is a short term fix at best.
Step Seven: Replace the Wheel Module
When all other steps fail, replacement is the answer. Most major brands sell wheel modules as a single unit. This makes the swap simple even for beginners. You can find modules on the brand website or through repair part sellers.
Remove the bottom plate of the robot with a screwdriver. Unplug the wire connector that powers the wheel motor. Lift out the old module and drop in the new one. Plug the connector back in and screw the plate down.
The whole process takes about ten minutes. A new wheel module costs much less than a new robot vacuum. Make sure you order the exact part for your model number. The wrong module will not fit or connect properly.
Pros: Restores the robot to like new performance.
Cons: Replacement parts cost money and may take a few days to ship.
Step Eight: Reset and Calibrate Your Robot
After any wheel repair, run a reset and calibration cycle. This step helps the robot relearn how its wheels move. Some vacuums get confused after a part swap and trigger false error codes.
Hold the power button for ten to twenty seconds until the robot beeps. Check your user manual for the exact reset steps for your model. Then place the robot on a flat open floor and let it run a full cleaning cycle.
Watch how it moves. A properly calibrated robot drives straight, turns smoothly, and rolls in silence. If it pulls to one side, check that both drive wheels spin at the same speed. A reset usually fixes minor calibration drift. This final step closes out the repair process.
How to Prevent Future Squeaks With Regular Maintenance
Prevention is easier than repair. Set a wheel cleaning schedule every two to four weeks. Mark it on your calendar or set a phone reminder. Consistent care keeps your robot quiet and extends its life.
Each maintenance session should take about ten minutes. Pop off the caster wheel, clear the hair, wipe the drive wheels, and check for tangles. Keep a small kit of tools nearby with tweezers, a screwdriver, and silicone lube.
Also try to keep the robot off wet surfaces unless it is built for mopping. Water causes rust on the metal pins inside the wheels. Empty the dustbin often so dust does not blow back into the wheel housings. These small habits prevent most squeaks before they start.
When to Call a Professional or Contact Support
Sometimes a squeak is a sign of a deeper problem. If you hear grinding, popping, or burning smells, stop using the robot right away. These signs point to motor or circuit damage that home repair cannot fix.
Contact the brand support team if your robot is still under warranty. Most major brands offer one or two year coverage on the main motor and wheel modules. You may get a free repair or replacement.
If the warranty has expired, a local small appliance repair shop can often help. Bring the robot and any error codes you have seen. A technician can run a full diagnostic and tell you if repair is worth the cost. Sometimes a new robot makes more sense than a costly fix on an old one.
Frequently Asked Questions
Why does my robot vacuum wheel squeak only on hard floors?
Hard floors amplify the sound of any friction in the wheel. The squeak is there on carpet too, but the soft surface muffles it. Cleaning and lubing the wheel fixes the noise on all surfaces.
Can I use cooking oil or WD40 on my robot vacuum wheels?
No, you should avoid both. Cooking oil goes rancid and attracts dust. WD40 is a solvent that breaks down plastic over time. Stick with silicone lubricant, dry graphite, or lithium grease for safe, lasting results.
How often should I clean my robot vacuum wheels?
Clean the wheels every two to four weeks for a normal home. Homes with pets or long hair need cleaning every one to two weeks. Regular care prevents squeaks and keeps the motors from straining.
Will a squeaking wheel damage my robot vacuum over time?
Yes, if you ignore it. A squeak means friction, and friction wears down parts. Over months, the motor works harder, the bearings wear out, and the battery drains faster. Fix the squeak early to avoid bigger repairs later.
Is it worth replacing a wheel module on an old robot vacuum?
It depends on the age and overall condition of the robot. If the robot is less than three years old and runs well otherwise, replacement is worth it. If it has other problems like a weak battery or motor issues, a new robot may be the smarter choice.