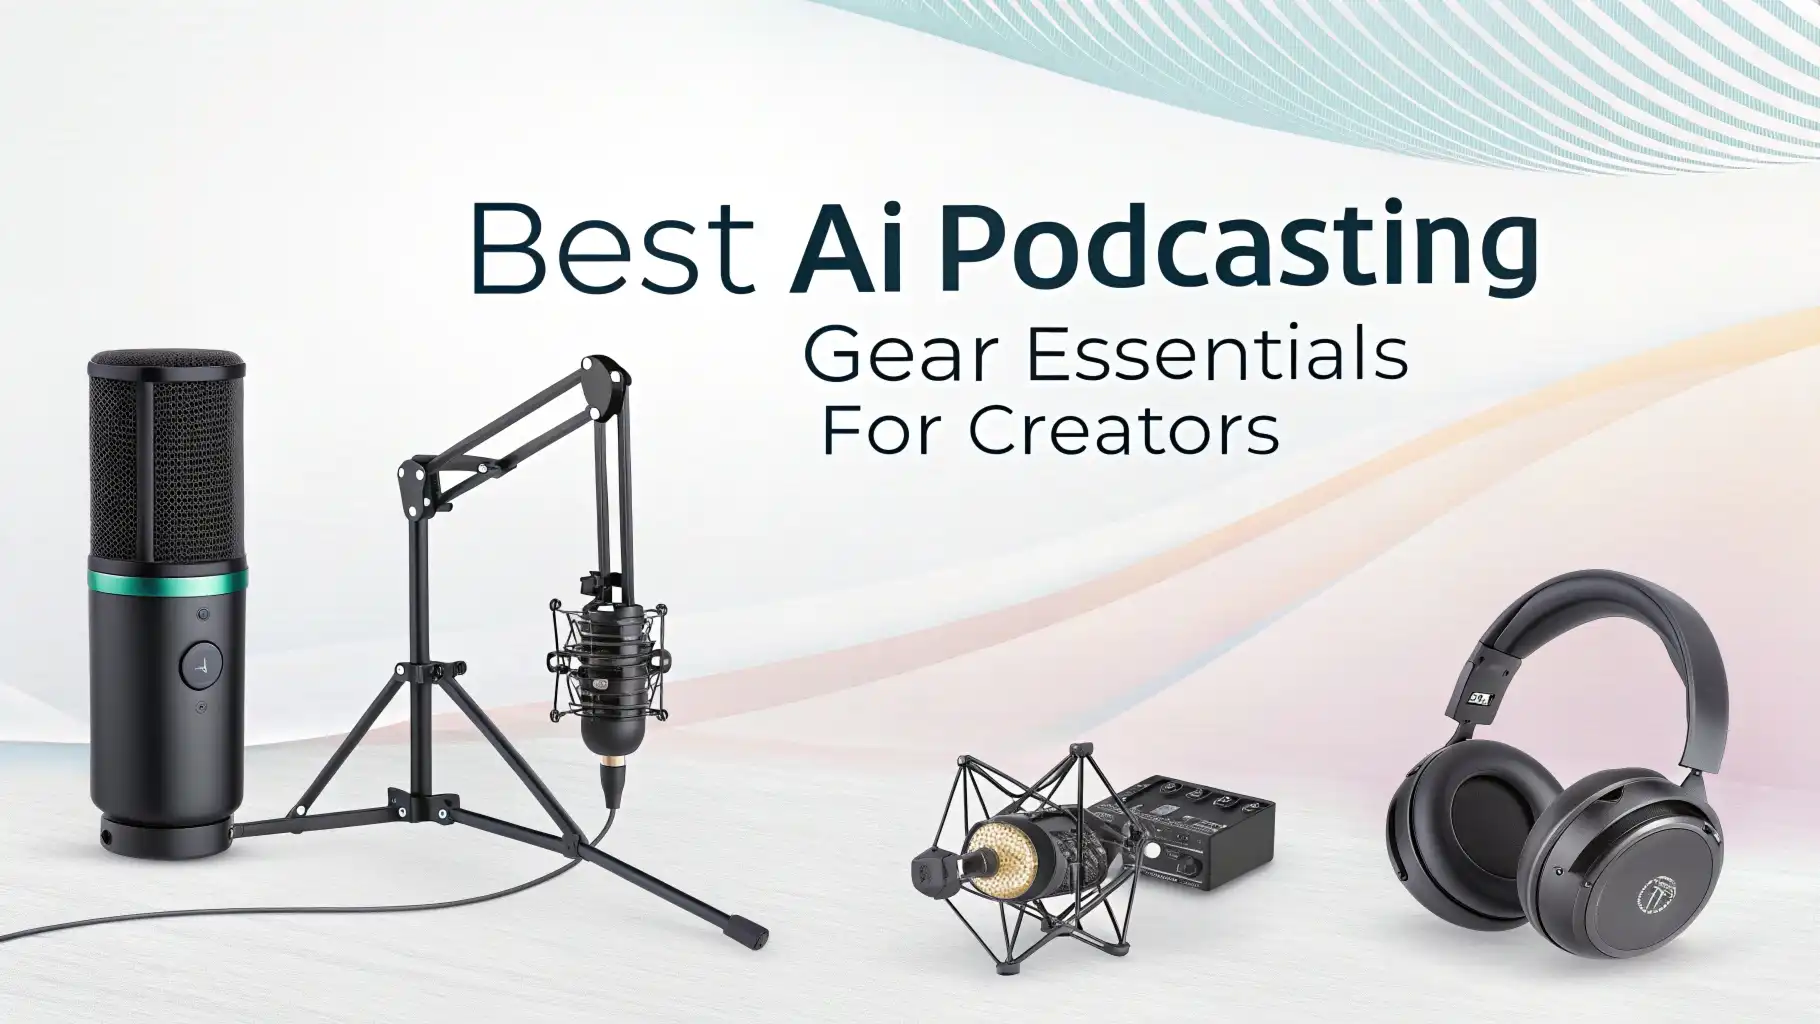
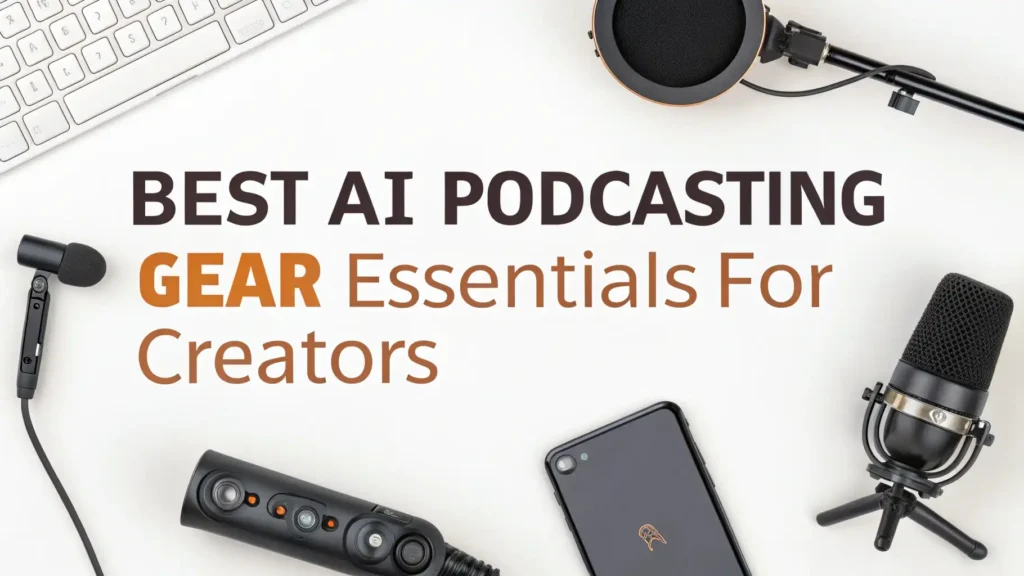
8 Best AI Podcasting Gear Essentials for Creators in 2026
Starting a podcast has never been easier, but getting professional sound quality requires the right equipment. You need gear that captures clear audio, eliminates background noise, and makes your voice sound amazing.
The good news is you don’t need to spend thousands of dollars to sound like a pro. The right podcasting Gear helps you create content that listeners actually want to hear.
These products work for beginners and experienced podcasters alike. You’ll find budget-friendly options and premium choices that deliver studio-quality results.
Key Takeaways
- Quality microphones make the biggest impact on your podcast’s sound. USB microphones work great for beginners, while XLR microphones offer more flexibility and professional quality for growing shows.
- Audio interfaces transform your recordings by converting analog signals to digital with minimal noise. They provide phantom power for microphones and let you monitor your audio in real time.
- Studio headphones are essential for monitoring because they reveal exactly how your podcast sounds. Closed-back designs prevent audio bleed during recording sessions.
- Boom arms and mic stands keep your workspace organized while positioning your microphone at the perfect angle. They reduce handling noise and make recording more comfortable.
- Acoustic treatment improves your recording environment by reducing echo and controlling reflections. Even basic foam panels create a noticeable difference in audio clarity.
Shure MV7+ USB XLR Dynamic Microphone

The Shure MV7+ represents the perfect blend of versatility and professional audio quality. This microphone works with both USB and XLR connections simultaneously, which means you can start with a simple USB setup and upgrade to an audio interface later.
The microphone features Auto Level Mode that adjusts your gain automatically, making it incredibly easy for beginners to get great sound.
The built-in digital pop filter eliminates harsh plosives without needing external accessories. You get LED panels that show your status at a glance.
The microphone works seamlessly with OBS and other streaming software. The dynamic capsule rejects background noise effectively, which is perfect if you don’t have a treated recording space. The metal construction feels solid and professional.
Pros:
✓ Dual USB and XLR connectivity offers maximum flexibility
✓ Auto Level Mode simplifies gain control for beginners
✓ Built-in digital pop filter reduces editing time
✓ Excellent background noise rejection
✓ OBS certified for streaming compatibility
Cons:
✗ Higher price point than entry-level microphones
✗ Requires USB-C cable (included but less common than USB-A)
✗ Dynamic design needs close mic technique for best results
FIFINE AmpliGame AM8 USB XLR Dynamic Microphone

The FIFINE AmpliGame AM8 delivers exceptional value for podcasters who want professional features without breaking the bank.
This dynamic microphone includes both USB and XLR outputs, giving you upgrade options as your podcast grows. The RGB lighting adds personality to video podcasts and streaming sessions. You get a built-in mute button that’s essential for quick silencing during recording.
The headphone jack with volume control lets you monitor your audio directly from the microphone. The included desktop stand works well for getting started, though most users upgrade to a boom arm eventually.
The cardioid pickup pattern focuses on your voice while rejecting side and rear sounds. The microphone produces warm, broadcast-quality audio that rivals much more expensive options.
Pros:
✓ Incredibly affordable with dual connectivity options
✓ RGB lighting customization for video content
✓ Direct headphone monitoring built into the microphone
✓ Mute button easily accessible during recording
✓ Desktop stand included for immediate use
Cons:
✗ RGB lights cannot be completely disabled
✗ Requires gain adjustment for quiet speakers
✗ Build quality feels lighter than premium alternatives
Focusrite Scarlett Solo 4th Gen Audio Interface

The Focusrite Scarlett Solo has dominated the audio interface market for years, and the 4th generation improves on an already excellent design. This compact unit provides one XLR input with a high-performance preamp that captures incredible detail.
The Air mode adds brightness and clarity that makes voices cut through any mix. You get direct monitoring with zero latency, which is crucial for comfortable recording sessions.
The interface connects via USB-C and works with both Mac and PC without driver installation. Focusrite includes an impressive software bundle with recording software, plugins, and sample packs worth hundreds of dollars.
The build quality is exceptional, with a metal chassis that will last for years. The gain dial provides precise control with visual indicators showing your input levels. This interface delivers professional studio quality at a reasonable price.
Pros:
✓ High-fidelity converters capture pristine audio quality
✓ Air mode enhances vocal presence and clarity
✓ Comprehensive software bundle included
✓ USB-C connectivity for modern computers
✓ Simple plug-and-play operation
Cons:
✗ Only one XLR input limits multi-person recording
✗ No built-in effects or processing
✗ Requires phantom power for condenser microphones
Audio-Technica ATH-M50X Studio Monitor Headphones

The Audio-Technica ATH-M50X headphones have become an industry standard for audio professionals worldwide. These closed-back headphones deliver accurate sound reproduction that reveals every detail in your recordings.
The 45mm drivers produce deep bass and extended highs without artificial coloration. You need honest sound when editing, and these headphones don’t lie about what’s really in your audio.
The swiveling earcups make one-ear monitoring easy during recording sessions. Three detachable cables give you flexibility for different setups. The comfortable design allows for hours of editing without fatigue.
The collapsible design and included case make these headphones portable for remote recording. Audio professionals trust these headphones because they translate well to other listening devices.
Pros:
✓ Critically acclaimed for accurate sound reproduction
✓ Comfortable for extended editing sessions
✓ Three cable options including coiled cable
✓ Professional grade build quality
✓ Excellent isolation from external noise
Cons:
✗ Tight fit may feel uncomfortable initially
✗ Non-removable cable attachment points can wear
✗ Bass-heavy sound signature isn’t completely neutral
InnoGear Adjustable Boom Arm Microphone Stand

The InnoGear Boom Arm transforms your podcasting setup by positioning your microphone exactly where you need it. This affordable boom arm supports microphones up to 3.5 pounds, which covers virtually all podcast microphones.
The dual spring system provides smooth movement and reliable positioning throughout long recording sessions. The desk clamp mounts securely to surfaces up to 2 inches thick.
The internal cable management system keeps your workspace tidy and professional-looking. The 360-degree rotation gives you complete positioning flexibility.
Multiple adjustment points let you find the perfect angle for your voice. The black finish matches most studio equipment. Assembly takes just minutes without tools. This boom arm eliminates handling noise and keeps your microphone stable.
Pros:
✓ Extremely affordable for the quality provided
✓ Smooth operation with dual spring design
✓ Cable management keeps wires organized
✓ Strong desk clamp for secure mounting
✓ Compatible with most microphone sizes
Cons:
✗ May sag slightly with heavier microphones
✗ Clamp requires sufficient desk overhang
✗ Springs can be noisy when adjusting
Neewer Professional Microphone Pop Filter

The Neewer Professional Pop Filter is an essential accessory that dramatically improves your audio quality. This dual-layered screen effectively blocks plosives (those harsh “P” and “B” sounds) that plague unfiltered recordings.
The flexible gooseneck arm adjusts easily and holds position reliably. The clamp attaches to mic stands, boom arms, or desk edges without tools.
The double-layer design provides superior protection compared to single-layer alternatives. The distance between layers diffuses air blasts before they reach your microphone. The 4.5-inch screen provides adequate coverage for most microphones.
The metal construction lasts much longer than cheap plastic alternatives. This simple addition saves countless hours of editing out plosive sounds.
Pros:
✓ Dual-layer design for maximum plosive protection
✓ Flexible 360-degree positioning arm
✓ Universal clamp fits most stands
✓ Affordable upgrade that makes real difference
✓ Durable metal construction
Cons:
✗ May block view of microphone during video recording
✗ Clamp can slip on smooth surfaces
✗ Requires positioning adjustment for each recording
Sony MDR-7506 Professional Studio Headphones

The Sony MDR-7506 headphones have been a studio staple for decades because they simply work. These closed-ear headphones deliver accurate monitoring that helps you catch problems during recording.
The 40mm drivers provide detailed sound across the entire frequency range. The coiled cable extends when needed but stays compact during normal use.
The folding design makes these headphones incredibly portable for remote recording sessions. The gold-plated connector ensures reliable connection without signal degradation.
The padded earcups provide comfort during marathon editing sessions. These headphones reveal harsh frequencies and room noise that you need to address. The price-to-performance ratio remains unmatched in this category.
Pros:
✓ Industry-standard monitoring accuracy
✓ Excellent build quality lasts for years
✓ Comfortable for long editing sessions
✓ Coiled cable perfect for studio use
✓ Foldable design for easy transport
Cons:
✗ Ear pads may need replacement after heavy use
✗ Slightly bright sound signature
✗ Not ideal for casual music listening
Focusound Acoustic Foam Panels 52 Pack

The Focusound Acoustic Foam Panels transform any room into a better recording environment. These 1-inch thick panels reduce echo and control reflections that muddy your podcast audio.
The wedge design breaks up sound waves effectively. The 52-pack provides enough coverage for a typical recording space. The charcoal color looks professional and matches most studio aesthetics.
The included adhesive strips make installation simple without damaging walls. Each 12×12 inch panel provides good coverage while allowing creative placement patterns.
The high-density foam absorbs frequencies more effectively than cheaper alternatives. These panels won’t eliminate all room problems, but they make a noticeable improvement in audio clarity. Your voice will sound more direct and professional.
Pros:
✓ Large 52-pack quantity covers significant wall space
✓ High-density foam for effective sound absorption
✓ Easy installation with included adhesive
✓ Professional wedge design
✓ Budget-friendly room treatment solution
Cons:
✗ May not absorb low frequencies effectively
✗ Adhesive can leave residue on walls
✗ Light smell initially after unpacking
Why Quality Podcasting Gear Matters
Your equipment directly impacts whether listeners subscribe or skip your show. Poor audio quality makes even the best content hard to enjoy.
Professional-sounding podcasts build trust with your audience. Listeners forgive mediocre video but rarely tolerate bad audio. The gear you choose sets the foundation for your entire podcast production.
Quality equipment also makes recording and editing easier. Good microphones capture clean audio that requires minimal processing.
Proper monitoring headphones help you catch issues before they reach your audience. Investing in solid gear saves time and frustration during post-production. The right tools help you focus on content creation instead of fighting technical problems.
Understanding Microphone Types for Podcasting
Dynamic microphones work best for most podcasting situations because they reject background noise effectively. These microphones require close positioning but deliver warm, broadcast-quality sound.
Dynamic mics handle loud volumes without distortion and don’t require phantom power. They’re more durable than condenser microphones and less sensitive to room acoustics.
Condenser microphones capture more detail and nuance in your voice but pick up room noise more easily. These microphones work well in treated spaces with minimal background sound.
USB microphones simplify your setup by connecting directly to computers. XLR microphones offer better quality but require an audio interface. Your recording environment and budget determine which type serves you best.
Audio Interfaces Versus USB Microphones
USB microphones provide simplicity and portability for podcasters who want minimal setup. You plug in and start recording without additional equipment.
Audio interfaces offer more flexibility and better sound quality as your podcast grows. They allow you to upgrade microphones, add multiple inputs, and adjust gain more precisely.
Audio interfaces provide phantom power for condenser microphones and professional-grade preamps. The conversion quality typically exceeds what’s built into USB microphones.
Interfaces also offer direct monitoring without latency, which is crucial for natural performance. The choice depends on your budget, technical comfort level, and growth plans.
Creating Your Ideal Recording Environment
Your recording space impacts audio quality as much as your equipment choices. Hard surfaces reflect sound and create echo that muddies your recordings.
Adding soft materials like curtains, rugs, and acoustic panels reduces these reflections significantly. You don’t need a professional studio, but controlling your environment makes a real difference.
Position yourself away from walls to minimize early reflections. Recording in smaller spaces often works better than large rooms with more reflections.
Background noise from HVAC systems, computers, and traffic sneaks into recordings more than you realize. Choosing a quiet location and treating your space creates cleaner audio that requires less editing.
Setting Up Your Podcasting Gear
Start by positioning your microphone at mouth level, about 6-8 inches from your face. Angle the microphone slightly off-axis to reduce plosives naturally. Set your gain so peaks hit around -12dB to allow headroom for louder moments. Test your levels by speaking at your normal podcasting volume before recording.
Monitor your audio through headphones during recording to catch problems immediately. Listen for room noise, handling noise, and mouth clicks that you can minimize.
Use the pop filter positioned between you and the microphone to eliminate plosive sounds. Check your recording levels regularly throughout longer sessions as speaking volume naturally varies.
FAQs
How Do I Choose Between USB and XLR Microphones?
USB microphones work great if you want simple plug-and-play recording without additional equipment. They’re perfect for solo podcasters who record in one location. XLR microphones provide better audio quality and more upgrade options as your show grows. They require an audio interface but offer professional flexibility.
Consider your technical comfort level and willingness to learn audio equipment. USB microphones limit upgrade paths since everything is built into the microphone. XLR setups let you swap microphones and add additional inputs for guests. Your budget and long-term podcasting goals should guide this decision.
What Makes a Good Podcast Microphone?
Good podcast microphones capture clear, natural voice reproduction without harsh frequencies or excessive background noise.
Dynamic microphones with cardioid pickup patterns work best for most podcasting situations. They focus on sound from the front while rejecting noise from sides and rear. The microphone should have low self-noise and handle typical speaking volumes without distortion.
Build quality matters because podcast microphones get used frequently and need to last. The microphone should feel solid and have reliable connection points.
Features like built-in pop filters and shock mounts reduce the need for additional accessories. Price doesn’t always indicate quality, but consistent positive reviews from actual podcasters provide valuable guidance.
How Important Are Studio Headphones for Podcasting?
Studio headphones are essential for monitoring your audio during recording and editing. They reveal problems like background noise, room echo, and mouth clicks that you need to address. Closed-back designs prevent audio bleed that could get picked up by your microphone during recording. Accurate monitoring helps you make better editing decisions that improve your final podcast.
Consumer headphones often enhance bass and treble, which masks problems in your recordings. Studio monitor headphones provide flat, honest sound reproduction. Comfortable fit matters during long editing sessions that can last several hours. Investing in quality monitoring headphones improves your overall podcast quality significantly.
Do I Really Need Acoustic Treatment?
Acoustic treatment makes a noticeable difference in podcast audio quality, especially in reflective rooms. Hard surfaces bounce sound around, creating echo that makes your voice sound distant and muddy. Basic foam panel treatment significantly reduces these reflections without requiring expensive professional acoustic design. Even partial treatment of your recording space improves clarity.
You don’t need to cover every wall, but strategic placement behind and beside you controls the most problematic reflections. Treatment works better than trying to fix room sound in editing. If you record in different locations frequently, portable acoustic panels or blankets provide temporary solutions. Your recording environment impacts audio quality as much as your microphone choice.